Activate Scan To Cloud and Remote Print |
|
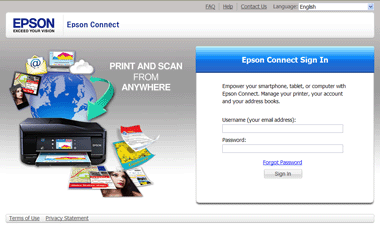
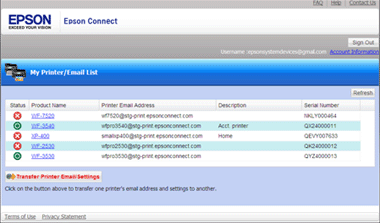
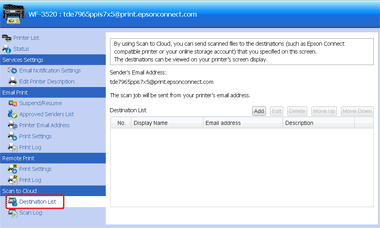
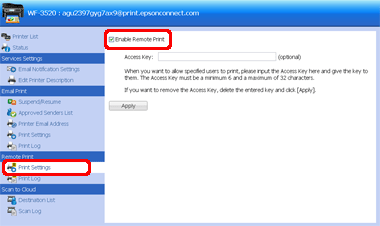
Follow the steps below to activate EPSON Scan To Cloud and Epson Remote Print. 1. Go to the EPSON Connect Sign In page, enter your Username and Password, then click Sign in.  2. If you've already registered other products with EPSON Connect, select your product in the My Printer/Email List. If this is the first product you're registering, go to the next step.  3. Select Destination List from the Scan To Cloud menu.  4. Select Add, fill out the Destination List form, then click OK. Note: The Destination List should contain the email address of the location where you will send or store your scan. You can send the scan to an email address, an EPSON Connect printer's email address, or an Online storage service such as Evernote, Google Docs, Dropbox, or Box.net. 5. Select Print Settings from the Remote Print menu, then click the check box to Enable Remote Print if it's not already selected.  Note: You can choose to assign an Access Key, which will allow only specific users to print with Remote Print and iPrint. |
