You can use the iProjection App to project .JPG and .PNG
images.
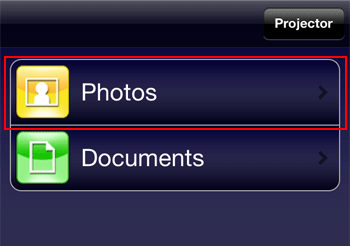
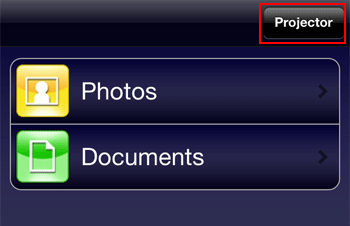
Tap the Photos button on iProjection home screen. Note: If you're using an iPad®, tap
Files and then tap the Photos button.
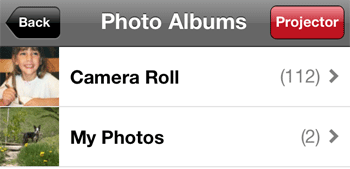
Tap the photo album containing the photos you want to display.
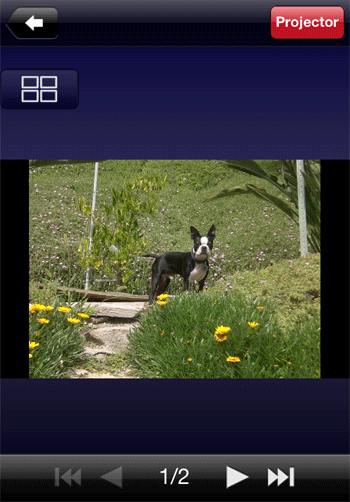
Tap the photo you want to display.
Navigate the photo album using the following controls:
Tap
or swipe left to display the next photo in the album
Tap
or swipe right to display the previous photo in
the album
Tap
to display the last photo in the album
Tap
to display the first photo in the album
Tap
to switch to a tiled view of all photos in the album
Spread two fingers apart to zoom in
Pinch two fingers together to zoom
out
Projecting Documents
You can use the iProjection App to project the following file formats:
Microsoft® Word® (.doc, .docx, Office® 2003 or later)
Microsoft® PowerPoint® (.ppt, .pptx, Office 2003 or later)
Microsoft® Excel® (.xls, .xlsx, Office 2003 or later)
Keynote® (.key)
Adobe® PDF (.pdf, PDF 1.7, Acrobat® 8 compatible or later)
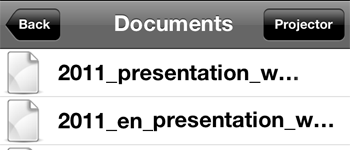
Tap the Documents button on the iProjection
home screen. Note: If you're using an iPad, tap Files
and then tap the Documents button.
Tap the name of the document you want to display.
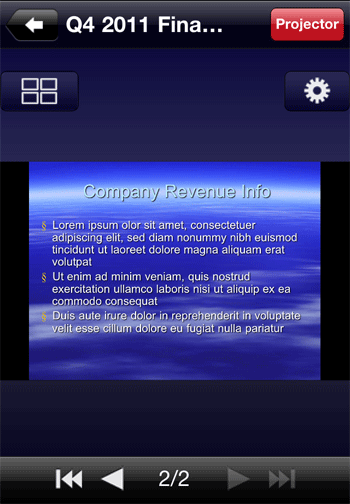
Navigate the document using the following controls:
Tap
or swipe left to display the next page or slide
Tap
or swipe right to display the previous page or slide
Tap
to display the last page or slide
Tap
to display the first page or slide
Tap
to switch to a tiled view of all pages or slides
in the document
Spread two fingers apart to zoom in
Pinch two fingers together to zoom out
Tap
to adjust the document display settings.
Tap one of the Orientation settings to change
the orientation of the projected image
Tap one of the Size settings to change the
aspect ratio and resolution of the projected image
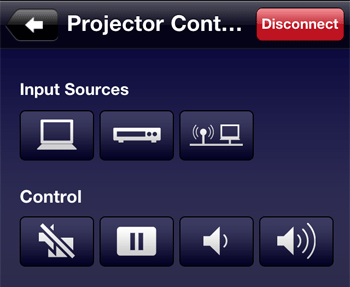
Using the Remote Control Feature
You can use your iOS device to control certain features
on your Epson projector.
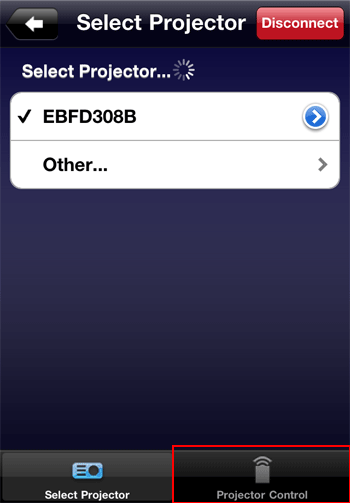
Tap the Projector button on the iProjection
home screen.
Tap the Projector Control button.
You can control the projector using the following
buttons: Note: The Input Sources and Control options will
vary depending on the Epson projector you are using.
Tap
to switch to the PC source
Tap
to switch to the video source
Tap
to switch to the LAN source
Tap
once to temporarily stop projection, tap the button again to resume normal display
Tap
once to freeze the image, tap the button again to resume normal display
Tap
to decrease the volume
Tap
to increase the volume
Note: You can still use your projector's remote
control while your product is connected to your iOS
device.
 or swipe left to display the next photo in the album
 or swipe right to display the previous photo in
the album
or swipe right to display the previous photo in
the album to display the last photo in the album
 to display the first photo in the album
 to switch to a tiled view of all photos in the album
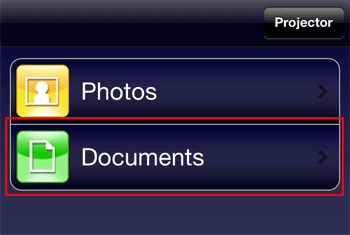
 to adjust the document display settings.
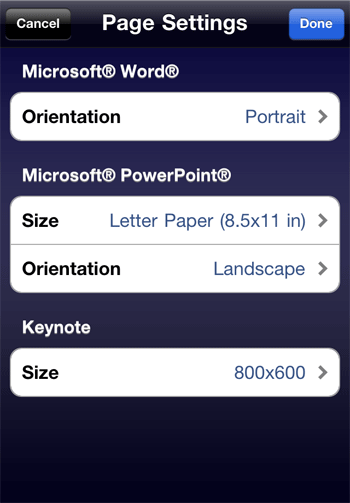
 to switch to the PC source
 to switch to the video source
 to switch to the LAN source
 once to temporarily stop projection, tap the button again to resume normal display
 once to freeze the image, tap the button again to resume normal display
 to decrease the volume
 to increase the volume